Introduction
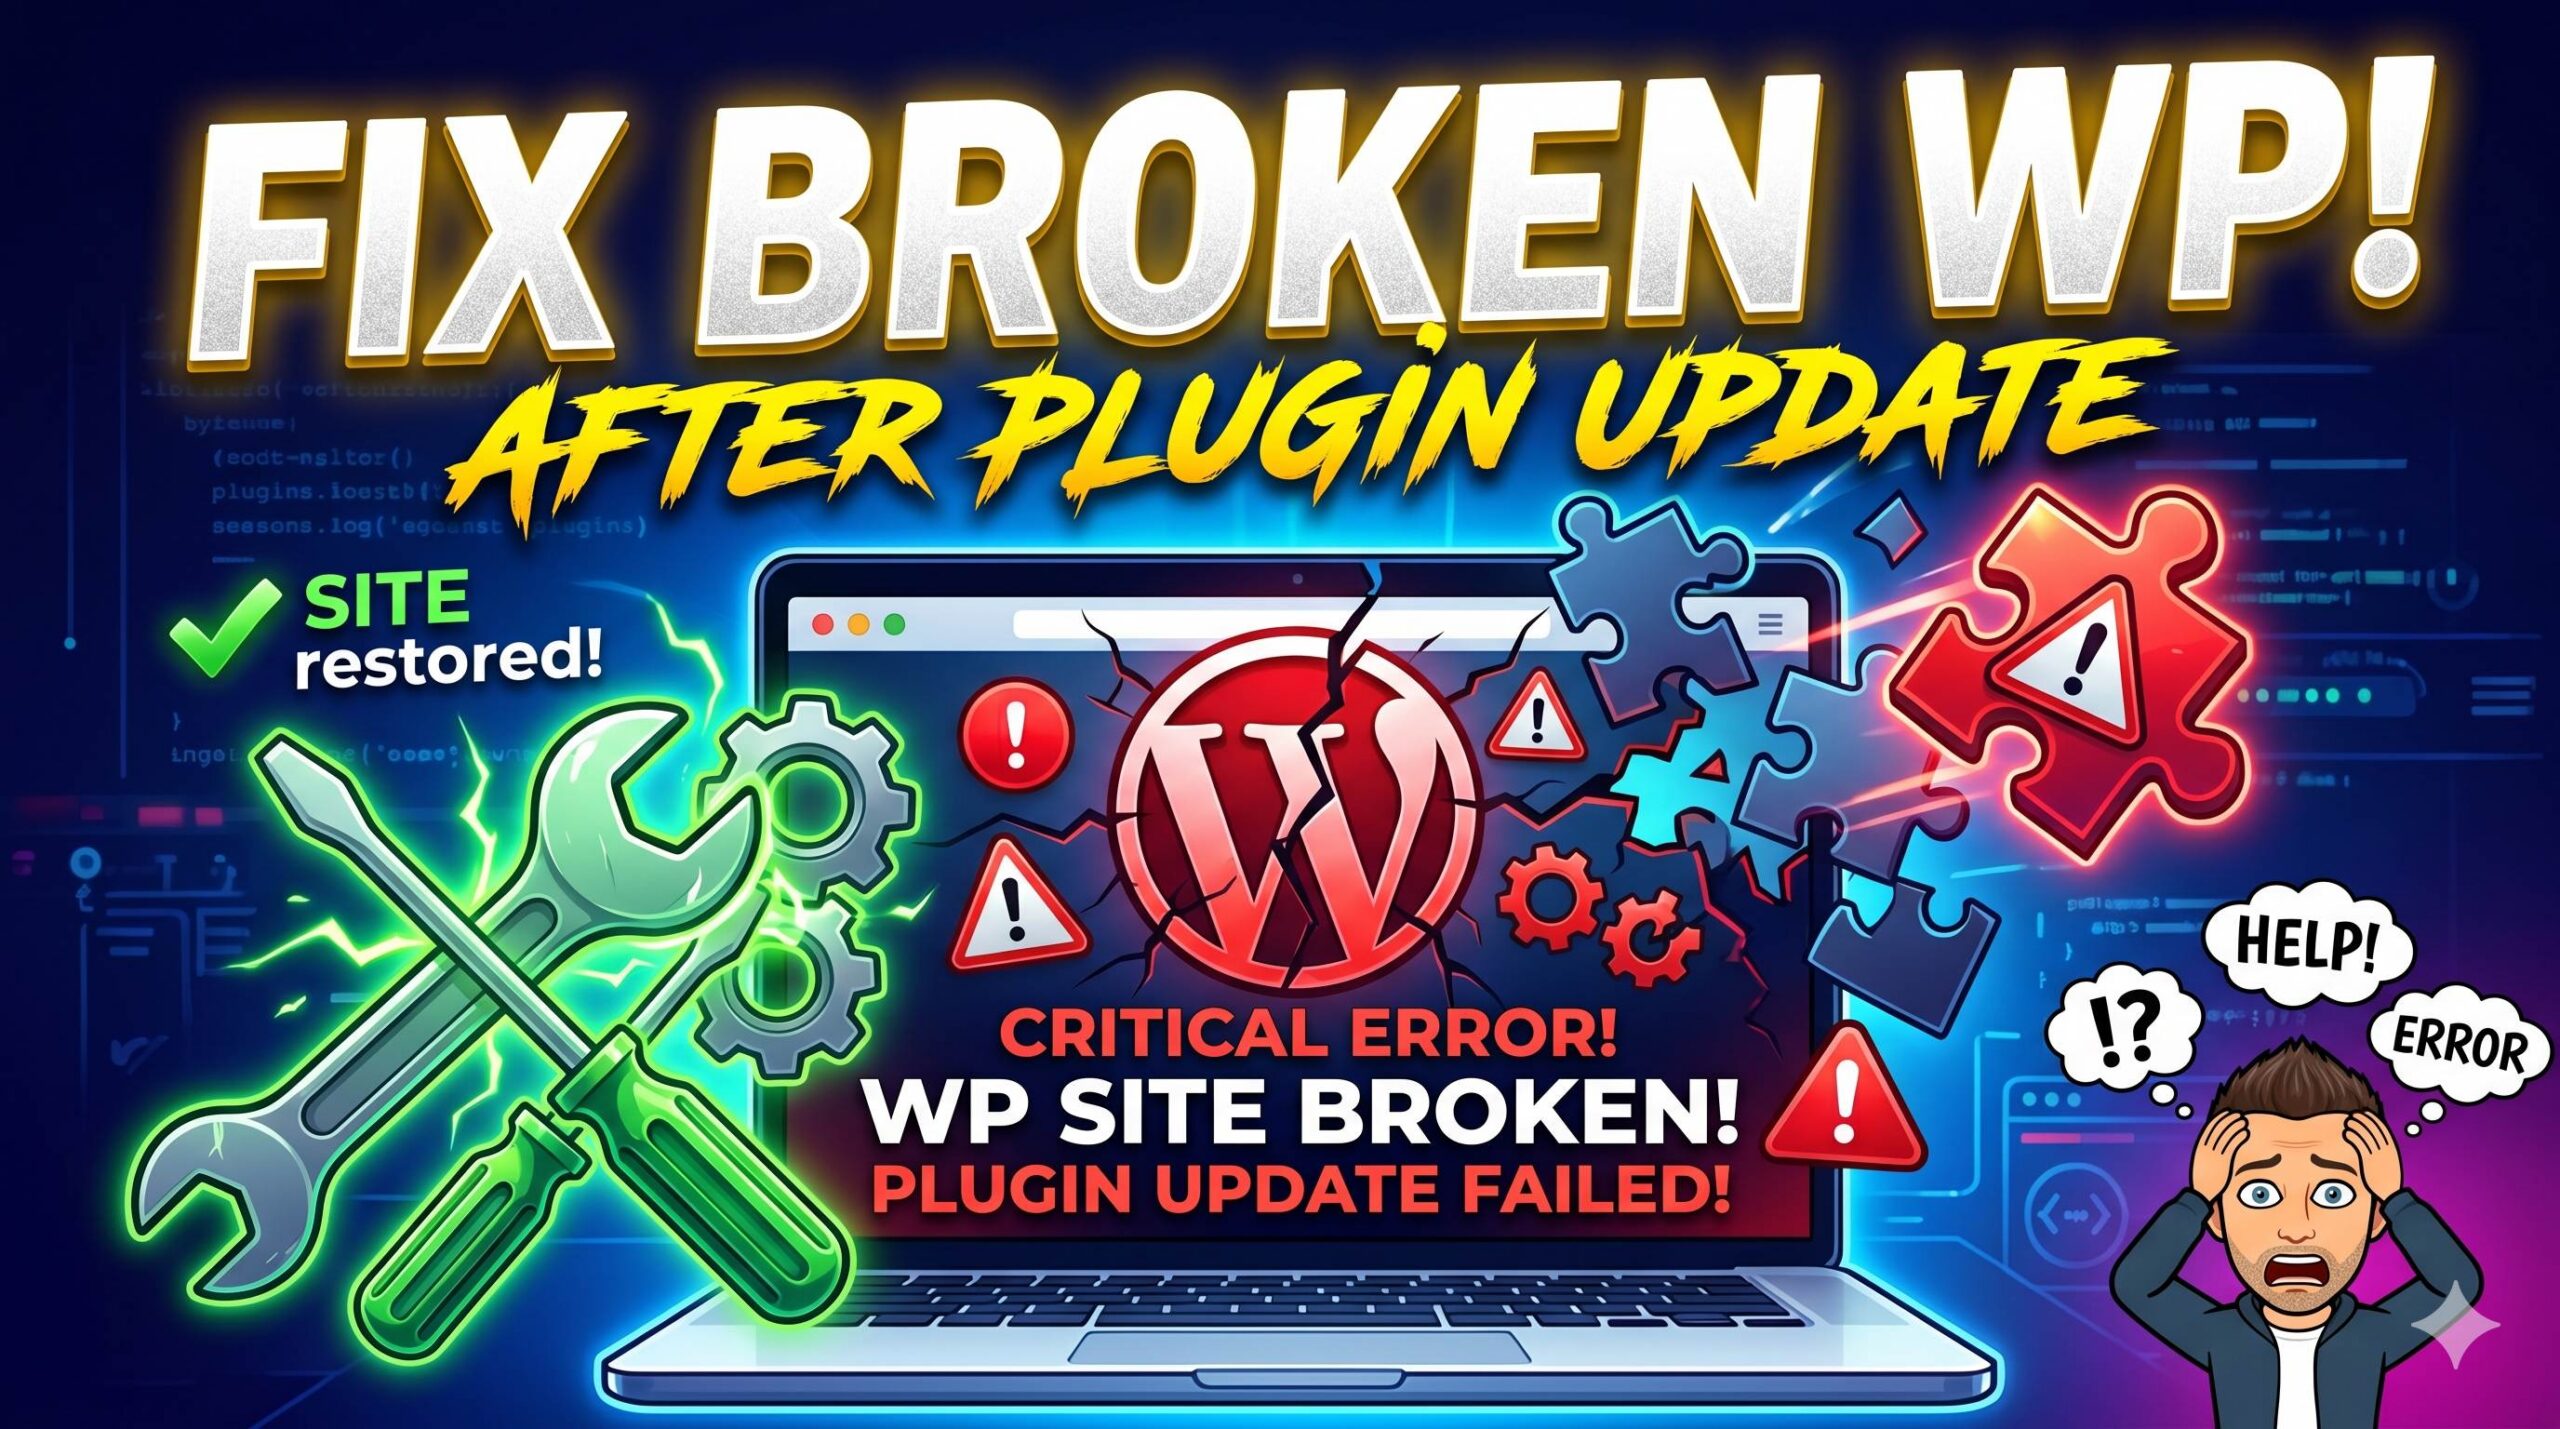
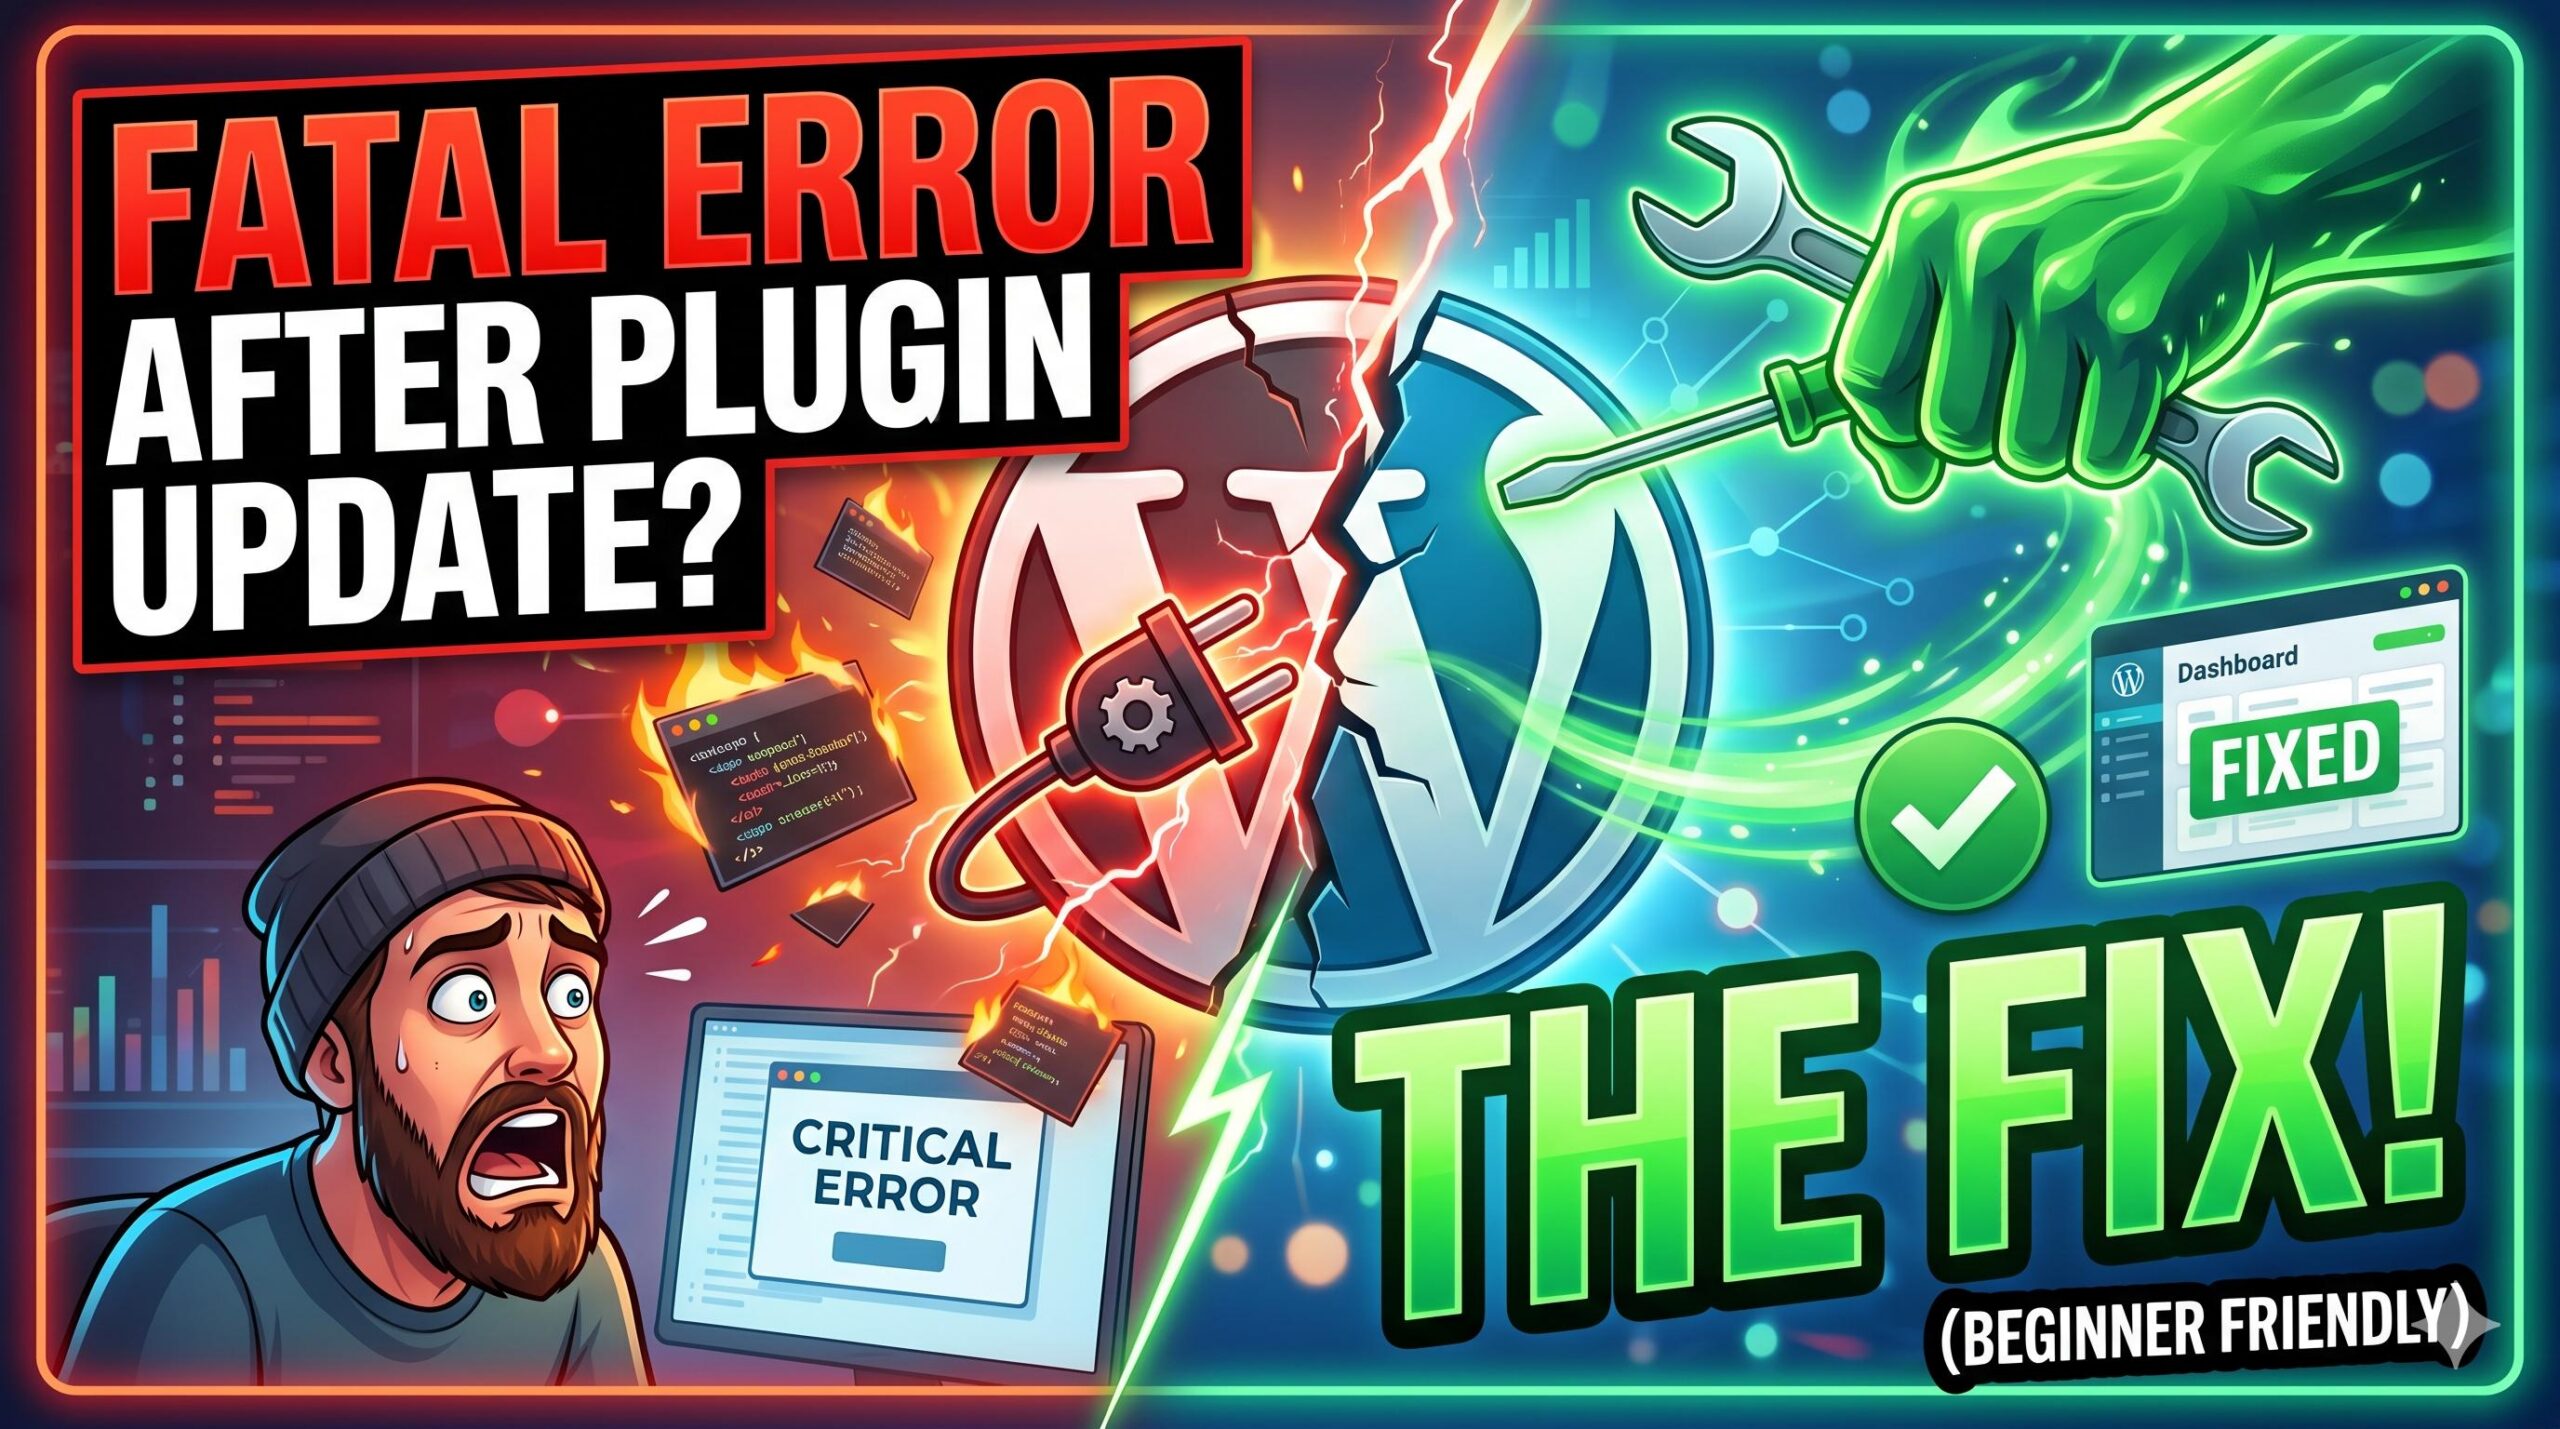
You hit “update” on your trusted plugins, expecting a basic security patch or maybe some glittering new feature. Your WordPress site, on the other hand, promptly crashed. You may be looking at a totally blank white screen or you may see an error message saying something like: “There has been critical error on this website.
You are exactly at the right place if you urgently need a Fatal Error After Plugin Update Fix.
This particular problem is a result of the new code from an updated plugin being in direct conflict with your site’s existing environment. This error occur mostly on your main website frontend, or even worse – right inside of wp-admin dashboard—you totally locked out. Why does it appear? This can happen in cases where the newly updated plugin is not compatible with your current version of WordPress core, or that it has conflicts with some other active plugins/theme installed on your site, or if this requires a newer PHP (application for processing and managing web content) than what you are using at the moment by default by any Web hosting server.
Please note: This guide is for educational troubleshooting purposes. Every hosting environment is slightly different, and we recommend always ensuring you have a recent backup before modifying site files.
Take a deep breath. Your website data is still there, and this is a highly common, reversible issue. Here is your step-by-step guide to applying a Fatal Error After Plugin Update Fix.
Table of Contents
Method 1: Utilize WordPress Recovery Mode
WordPress version 5.2 introduces an automatic safety net in case something goes wrong – exactly for this situation!
If an update of any plugin has a fatal error, WordPress tries to kill the code which broke and at that time it sends out an email automatically to the site admin.

- Check your admin email: There would be an automated email having the subject line like Your Site has a Technical Issue.
- Click the Recovery Mode link: Within this email will be a unique and temporary link. Once you click it, the WordPress dashboard is opened for signing in securely.
- Deactivate the culprit: Logged in via Recovery Mode: You should see a prominent warning about which plugin caused the fatal error. Simply click Deactivate.
- Exit Recovery Mode: Use the top icon as button to leave. Now your site will again be live, only without the broken plugin running.
Method 2: The Manual Fatal Error After Plugin Update Fix (Via File Manager)
In case you did not get the recovery email, or your hosting blocked it — then manually deactivate that broken plugin. Since you cannot log into WordPress to do this, we will be doing it through your web hosting account.
Fear not, this is beginner-safe and does not require coding.

- Log in to your Web Hosting Control Panel: Go on cPanel, Site Tools or custom hosting dashboards
- Open the File Manager: Go to your tool that allows you to access individual files of your website.
- Locate the Plugins folder: Go to public_html > wp-content > plugins
- Find the updated plugin: You need to look into the folder name of this newly updated Plugin,
- Rename the folder: After clicking on a particular plugin, right-click and choose Rename. Append -deactivated to the end of your plugin name, like so: wp-forms becomes wp-forms-deactivated.
By changing the folder name, WordPress can no longer find the plugin. It will automatically disable it, instantly removing the fatal error and restoring access to your website.
Method 3: Roll Back to the Previous Plugin Version
After using Method 1 or type two on your site all over again, you could still need that plugin to run what you are promoting. The simplest Fatal Error After Plugin Update Fix when actually the latest update is broken, would be to “roll back” this temporary solution until a patch developed will come.

- Head over to official WordPress Plugin Repository.
- Look for your plugin and navigate to its page.
- Click on the Advanced View link to your right.
- Go to the end and locate Previous versions section.
- From the drop down select the version you were using previously and Download. zip file
- Once that plugin is deleted in your WordPress dashboard, just navigate to Plugins > Add New and upload the older. zip file.
Method 4: Check Your Server’s PHP Compatibility
And the plugin itself is not always where you go wrong. These days, many plugins no longer support old and vulnerable PHP versions (PHP is the programming language that WordPress runs on); plugin updates could break things if hosting still uses an incompatible version of PHP.
If your server still uses a low PHP version (i.e. 7.2) and the new plugin is required to have a php8.0, this will cause an immediate fatal error on it could make the WP stop working at all! PHP Version use Log in to your hosting control panel, find PHP Manager (or Select PHP version) and check if advance not support type phprectile archive 767+!! This instant solution also works as a Fatal Error After Upgrade Plugin Fix on updating PHP.
How to Prevent This Issue in the Future
Nobody wants to deal with website downtime. Here is how to protect your site before hitting the update button next time:
- Always Backup First: Use an automated backup plugin like UpdraftPlus. If an update breaks your site, you can restore it in one click.
- Wait a Few Days: Unless it is an urgent security patch, wait 3–4 days before updating a new plugin release. Let other users find the fatal bugs first.
- Read the Changelog: Before updating, click “View version details” to ensure the new version is compatible with your current WordPress setup.
How to Fix a WordPress Site Crashed After Update: A Complete Guide
Frequently Asked Questions (FAQ)
Will I lose my plugin settings if I rename the folder?
For example, no, if you rename the plugin folder (using your hosting provider File Manager). This only deactivates the plugin. Your custom settings and everything related to your WordPress are securely saved in your database. As soon as you fix the error and enable your plugin again, all settings will be restored to their previous state.
How do I know exactly which plugin caused the fatal error?
The quickest method to determine the black sheep is to rename your complete plugins folder to plugins-deactivated, assuming that you up-to-date multiple plugins at a time. Check if your site loads. If it works, rename the folder back to plugins. Next, navigate into the wp-content/plugins folder and start renaming each individual plugin directory one by one, visiting your site after changing the name of each folder until you find which plugin is crashing your site.
Why did the plugin update break my site?
WordPress plugin developers will test their updates, but they cannot simulate all the different server setups and theme and plugin combinations that exist in the WordPress ecosystem (of millions of installations). Fatal error typically means that a particular line of code in new update produces conflict with another tool you are using, or the PHP version on your server is too outdated to handle the new code.