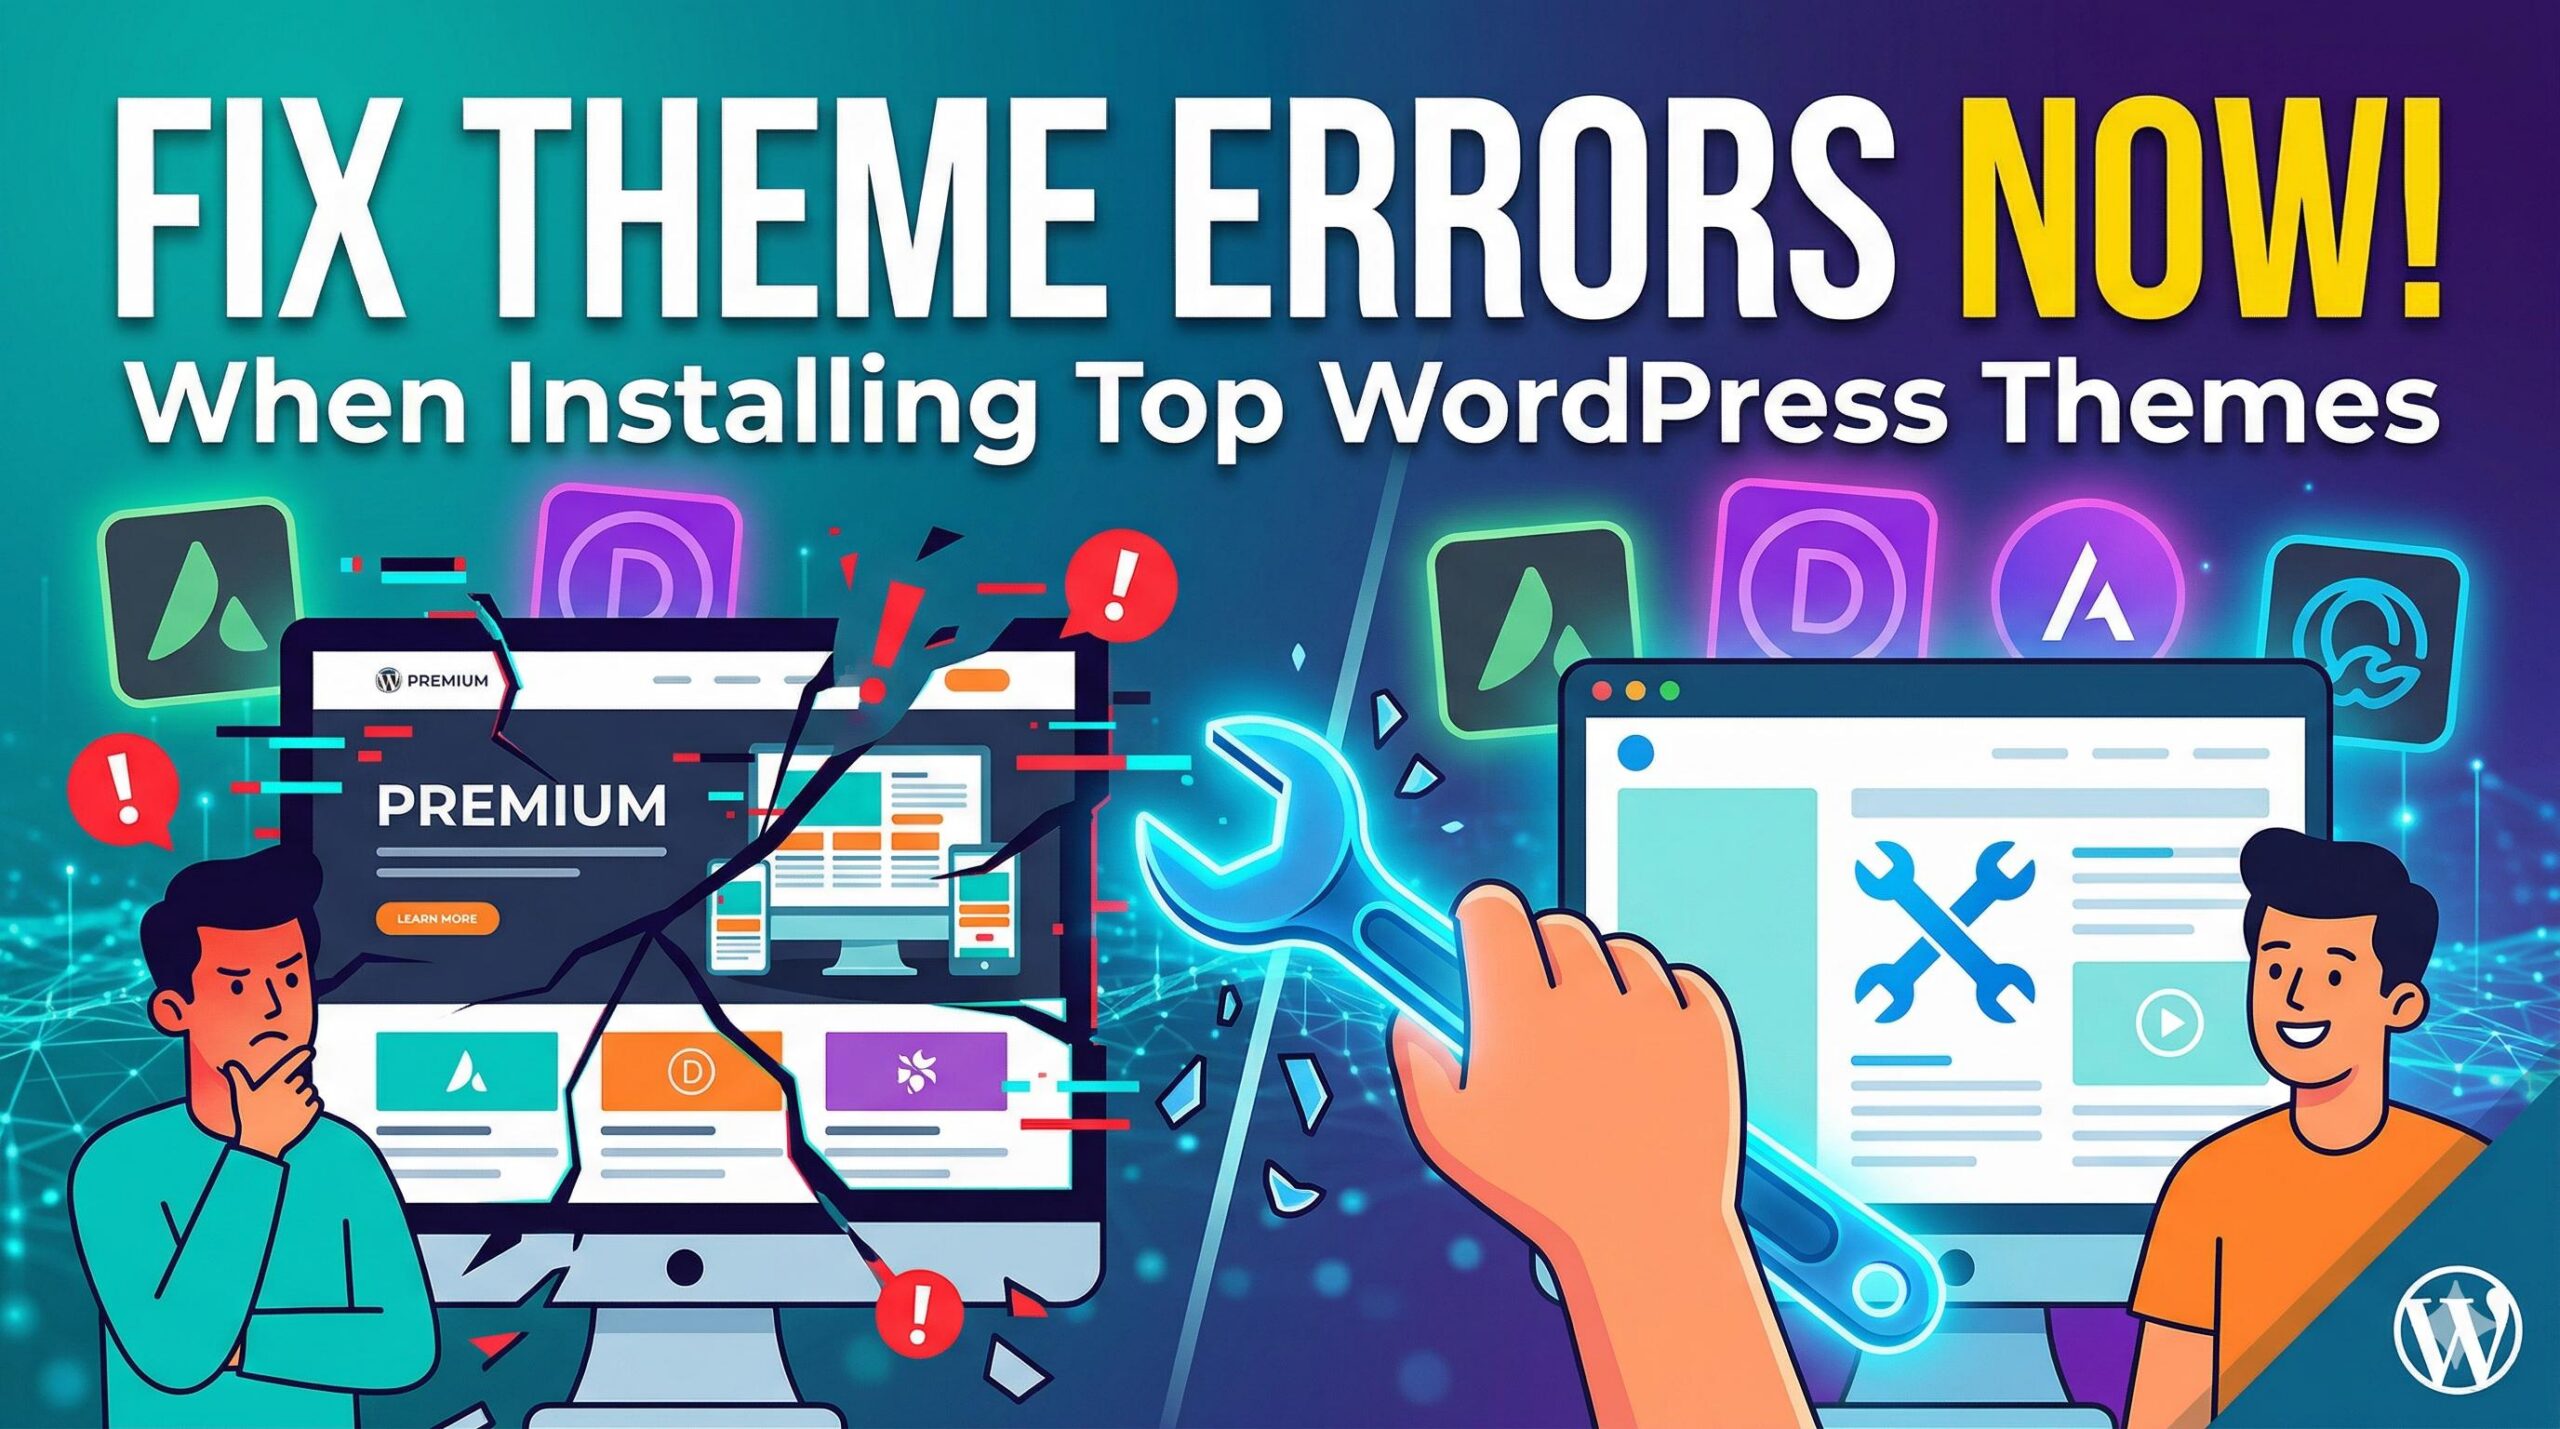
Introduction: Why Upgrading Your Theme Causes Errors
Welcome to wordpressissuefix.com. Many beginners search for top WordPress themes to instantly make their websites look professional, modern, and engaging. But what exactly does this term mean? In the WordPress ecosystem, “top WordPress themes” refers to the most popular, highly-rated, and feature-packed templates found in the official repository or premium marketplaces. Users typically encounter these themes when browsing for a complete design overhaul to elevate their brand.
So, why do unexpected errors appear the moment you hit “Activate”? High-quality, premium themes are complex. They require significant server resources, specific PHP versions, and exact plugin compatibility to run smoothly. When your current basic hosting environment cannot handle these heavy new requirements, your site crashes.

You might see a blank white page, a 500 Internal Server error, or a completely broken layout. This guide focuses entirely on helping you troubleshoot and fix the exact technical errors caused by switching to a heavy, resource-intensive theme.
This guide is for educational troubleshooting purposes. Always ensure you have a recent backup of your website before making technical changes.
Table of Contents
Common Problems Triggered by Top WordPress Themes
When you transition from a basic, lightweight design to one of the top WordPress themes available on the market, you are drastically changing the underlying code of your website. Here are the most frequent issues users experience during this transition:

- The White Screen of Death (WSoD): You activate your new theme, and suddenly, your entire website (and sometimes the admin dashboard) turns completely blank. This usually means a fatal PHP error has occurred, often because the new theme has exhausted your server’s memory.
- Broken Layouts and Missing Styles: The site loads, but it looks like a chaotic mess of text and unformatted links. The CSS (Cascading Style Sheets) of the new theme is not loading properly, or it is conflicting with your old settings.
- 500 Internal Server Error: A generic error message that prevents your site from loading. This frequently happens when top WordPress themes require a higher PHP version than your web host is currently providing.
- Plugin Clashes: The advanced features built into top WordPress themes (like custom sliders or portfolio builders) may conflict with plugins you already have installed, causing certain pages to freeze or break entirely.
Step-by-Step Troubleshooting Guide
If your website has crashed or looks broken after installing one of the top WordPress themes, stay calm. You can usually fix this by following these beginner-friendly troubleshooting steps.
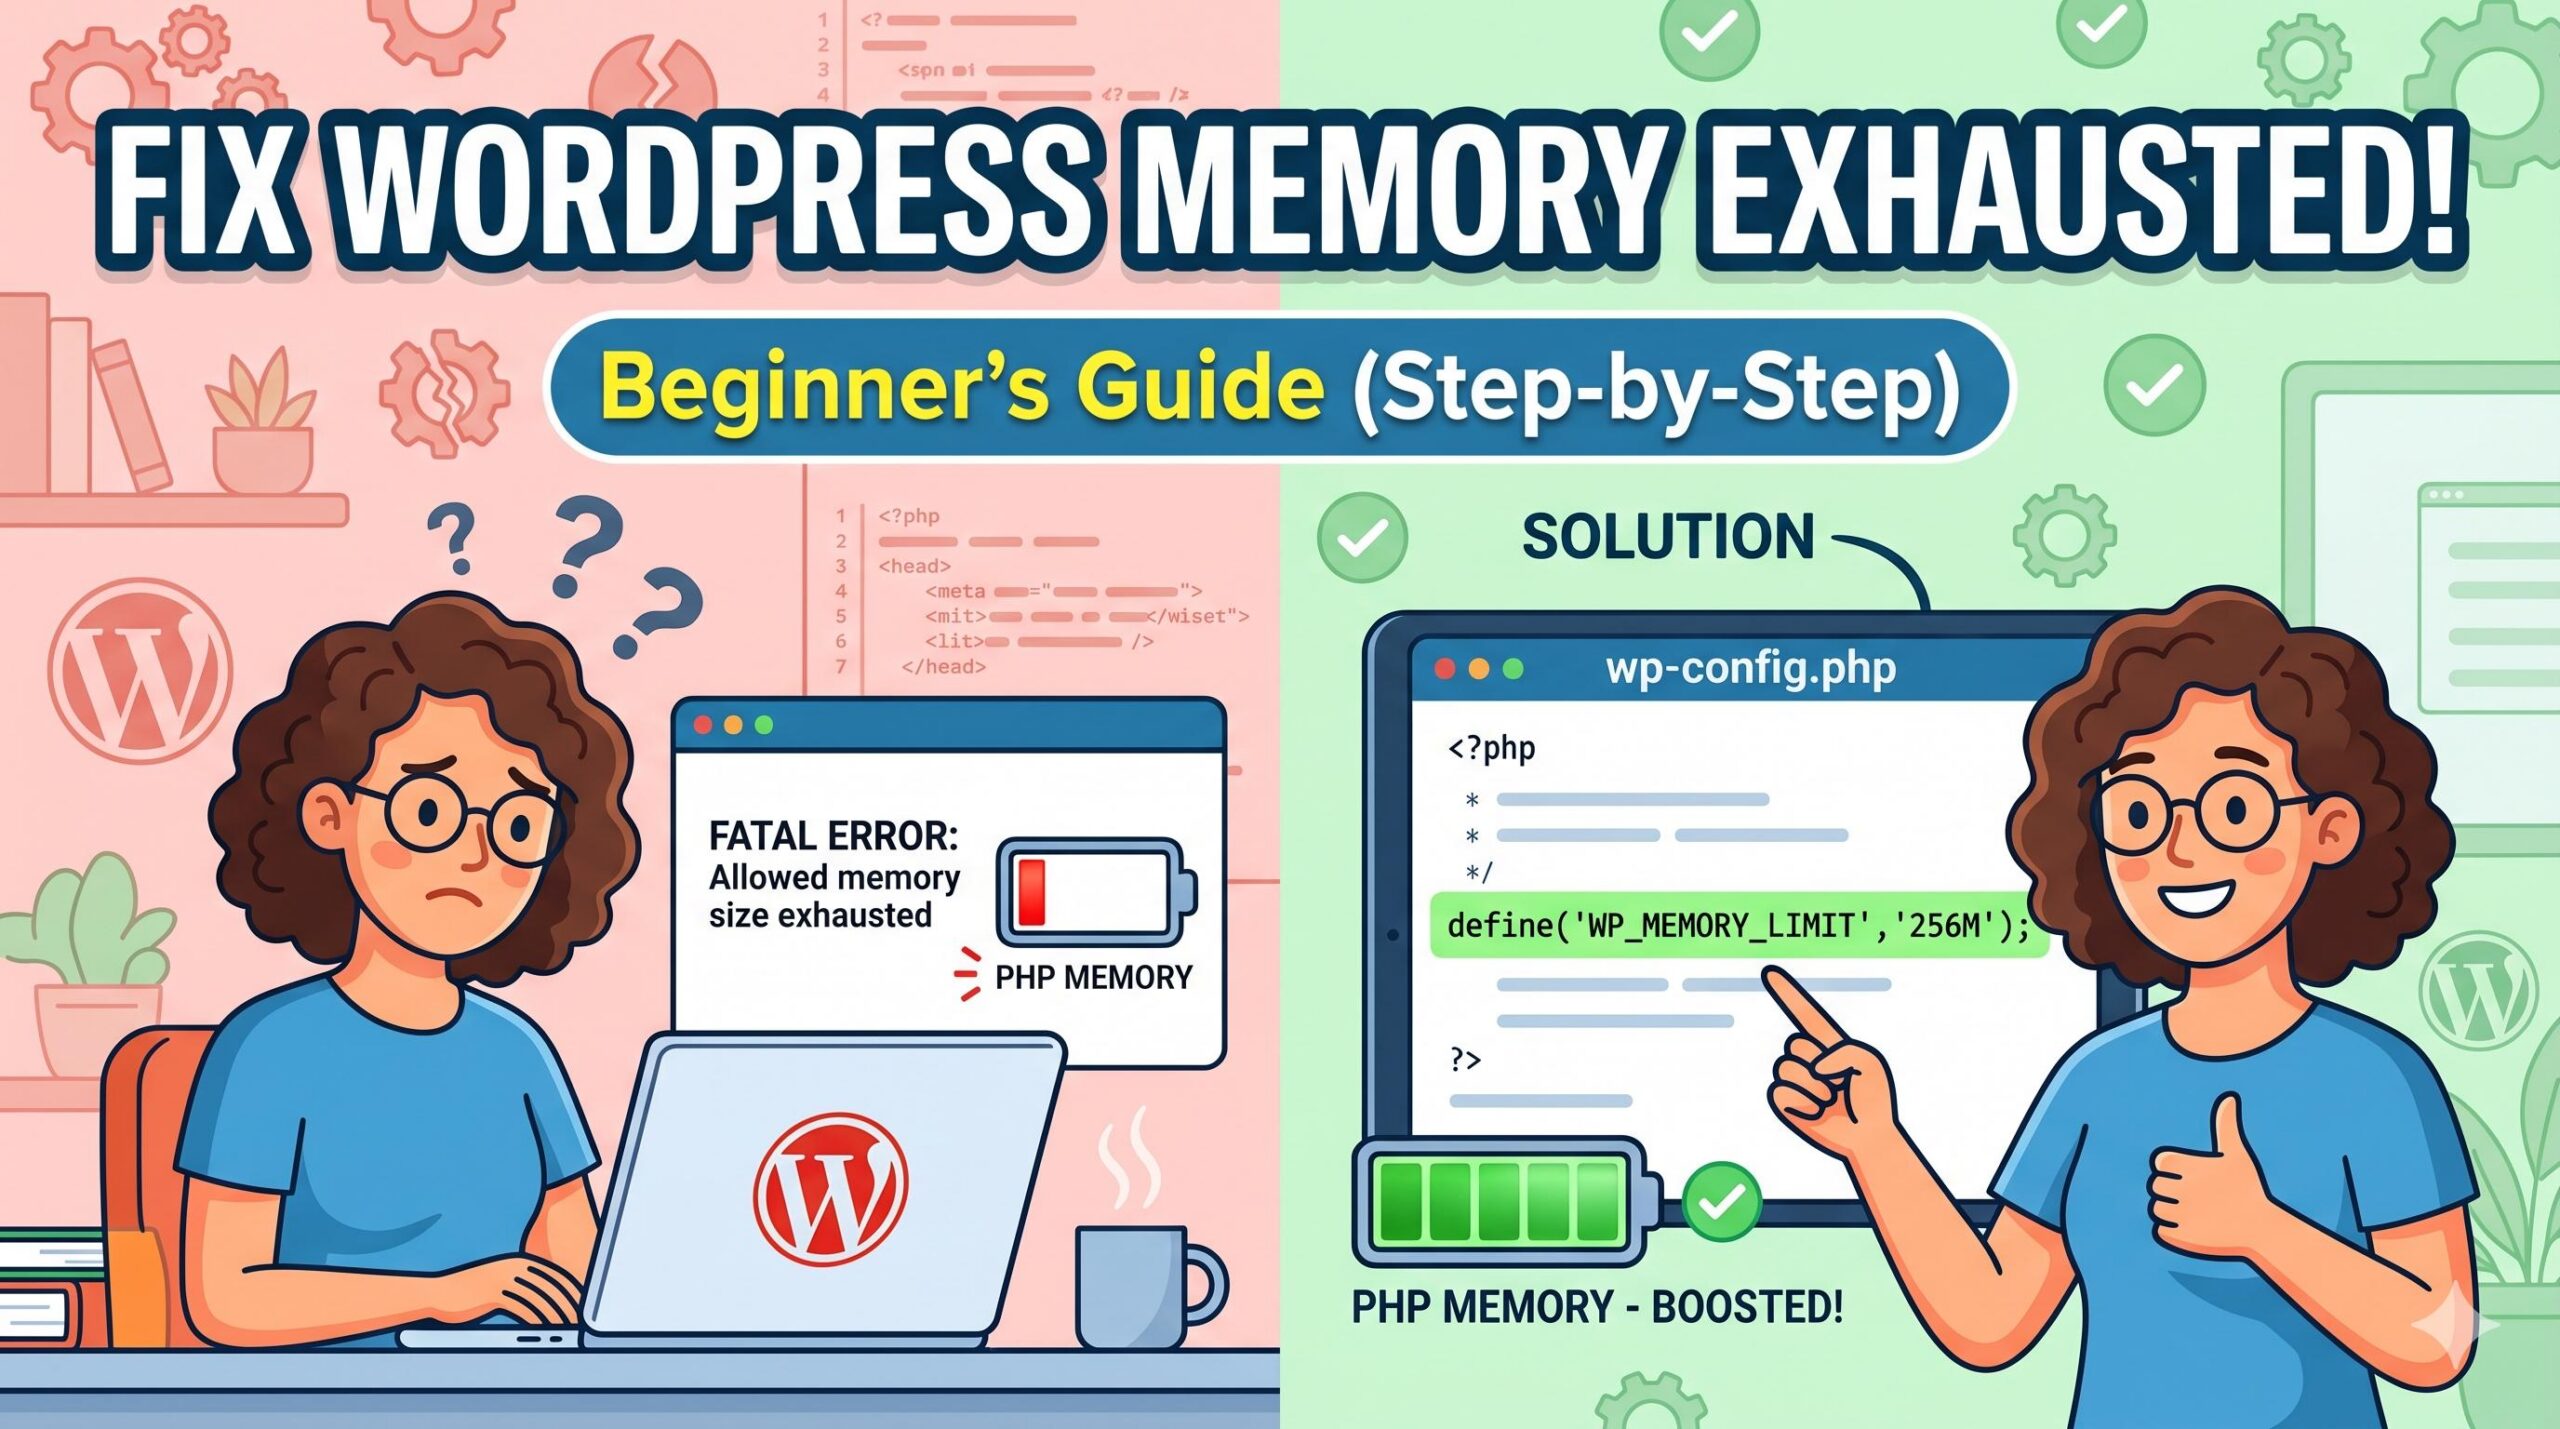
Step 1: Increase Your PHP Memory Limit

Because top WordPress themes come packed with complex features, demo importers, and page builder integrations, they require more server memory than standard themes. If your memory limit is too low, the installation will fail or crash your site.
- Connect to your website using an FTP client (like FileZilla) or your web host’s File Manager.
- Locate the
wp-config.phpfile in the root directory of your WordPress installation. - Right-click and edit the file.
- Just before the line that says
/* That's all, stop editing! Happy publishing. */, paste the following code:define( 'WP_MEMORY_LIMIT', '256M' ); - Save the file and refresh your website.
Step 2: Clear All Website and Browser Caches
If your site looks like a jumbled mess of text after switching to one of the top WordPress themes, your browser or server is likely holding onto the old theme’s visual data.
- Clear Browser Cache: Press
Ctrl + F5(Windows) orCmd + Shift + R(Mac) to hard refresh the page. - Clear Plugin Cache: If you use a caching plugin (like WP Rocket, W3 Total Cache, or LiteSpeed Cache), go to the plugin settings in your dashboard and click “Purge All Caches.”
- Clear Host Cache: Many modern web hosts have built-in server caching. Look for a “Clear Cache” button at the very top of your WordPress admin bar or inside your hosting control panel.
Step 3: Deactivate Conflicting Plugins
If increasing the memory limit and clearing the cache did not resolve the issue, a plugin is likely fighting with your new theme. Top WordPress themes often have built-in SEO tools, security features, or caching mechanisms that do not play well with standalone plugins doing the same job.
- Go to Plugins > Installed Plugins in your WordPress dashboard.
- Select all active plugins using the top checkbox.
- Choose Deactivate from the bulk actions dropdown and click Apply.
- Check your website. If it is working properly now, the theme is fine—a plugin was the culprit.
- Reactivate your plugins one by one, checking your live website after each activation. When the site breaks again, you have found the conflicting plugin. You will need to leave that plugin deactivated and find an alternative.
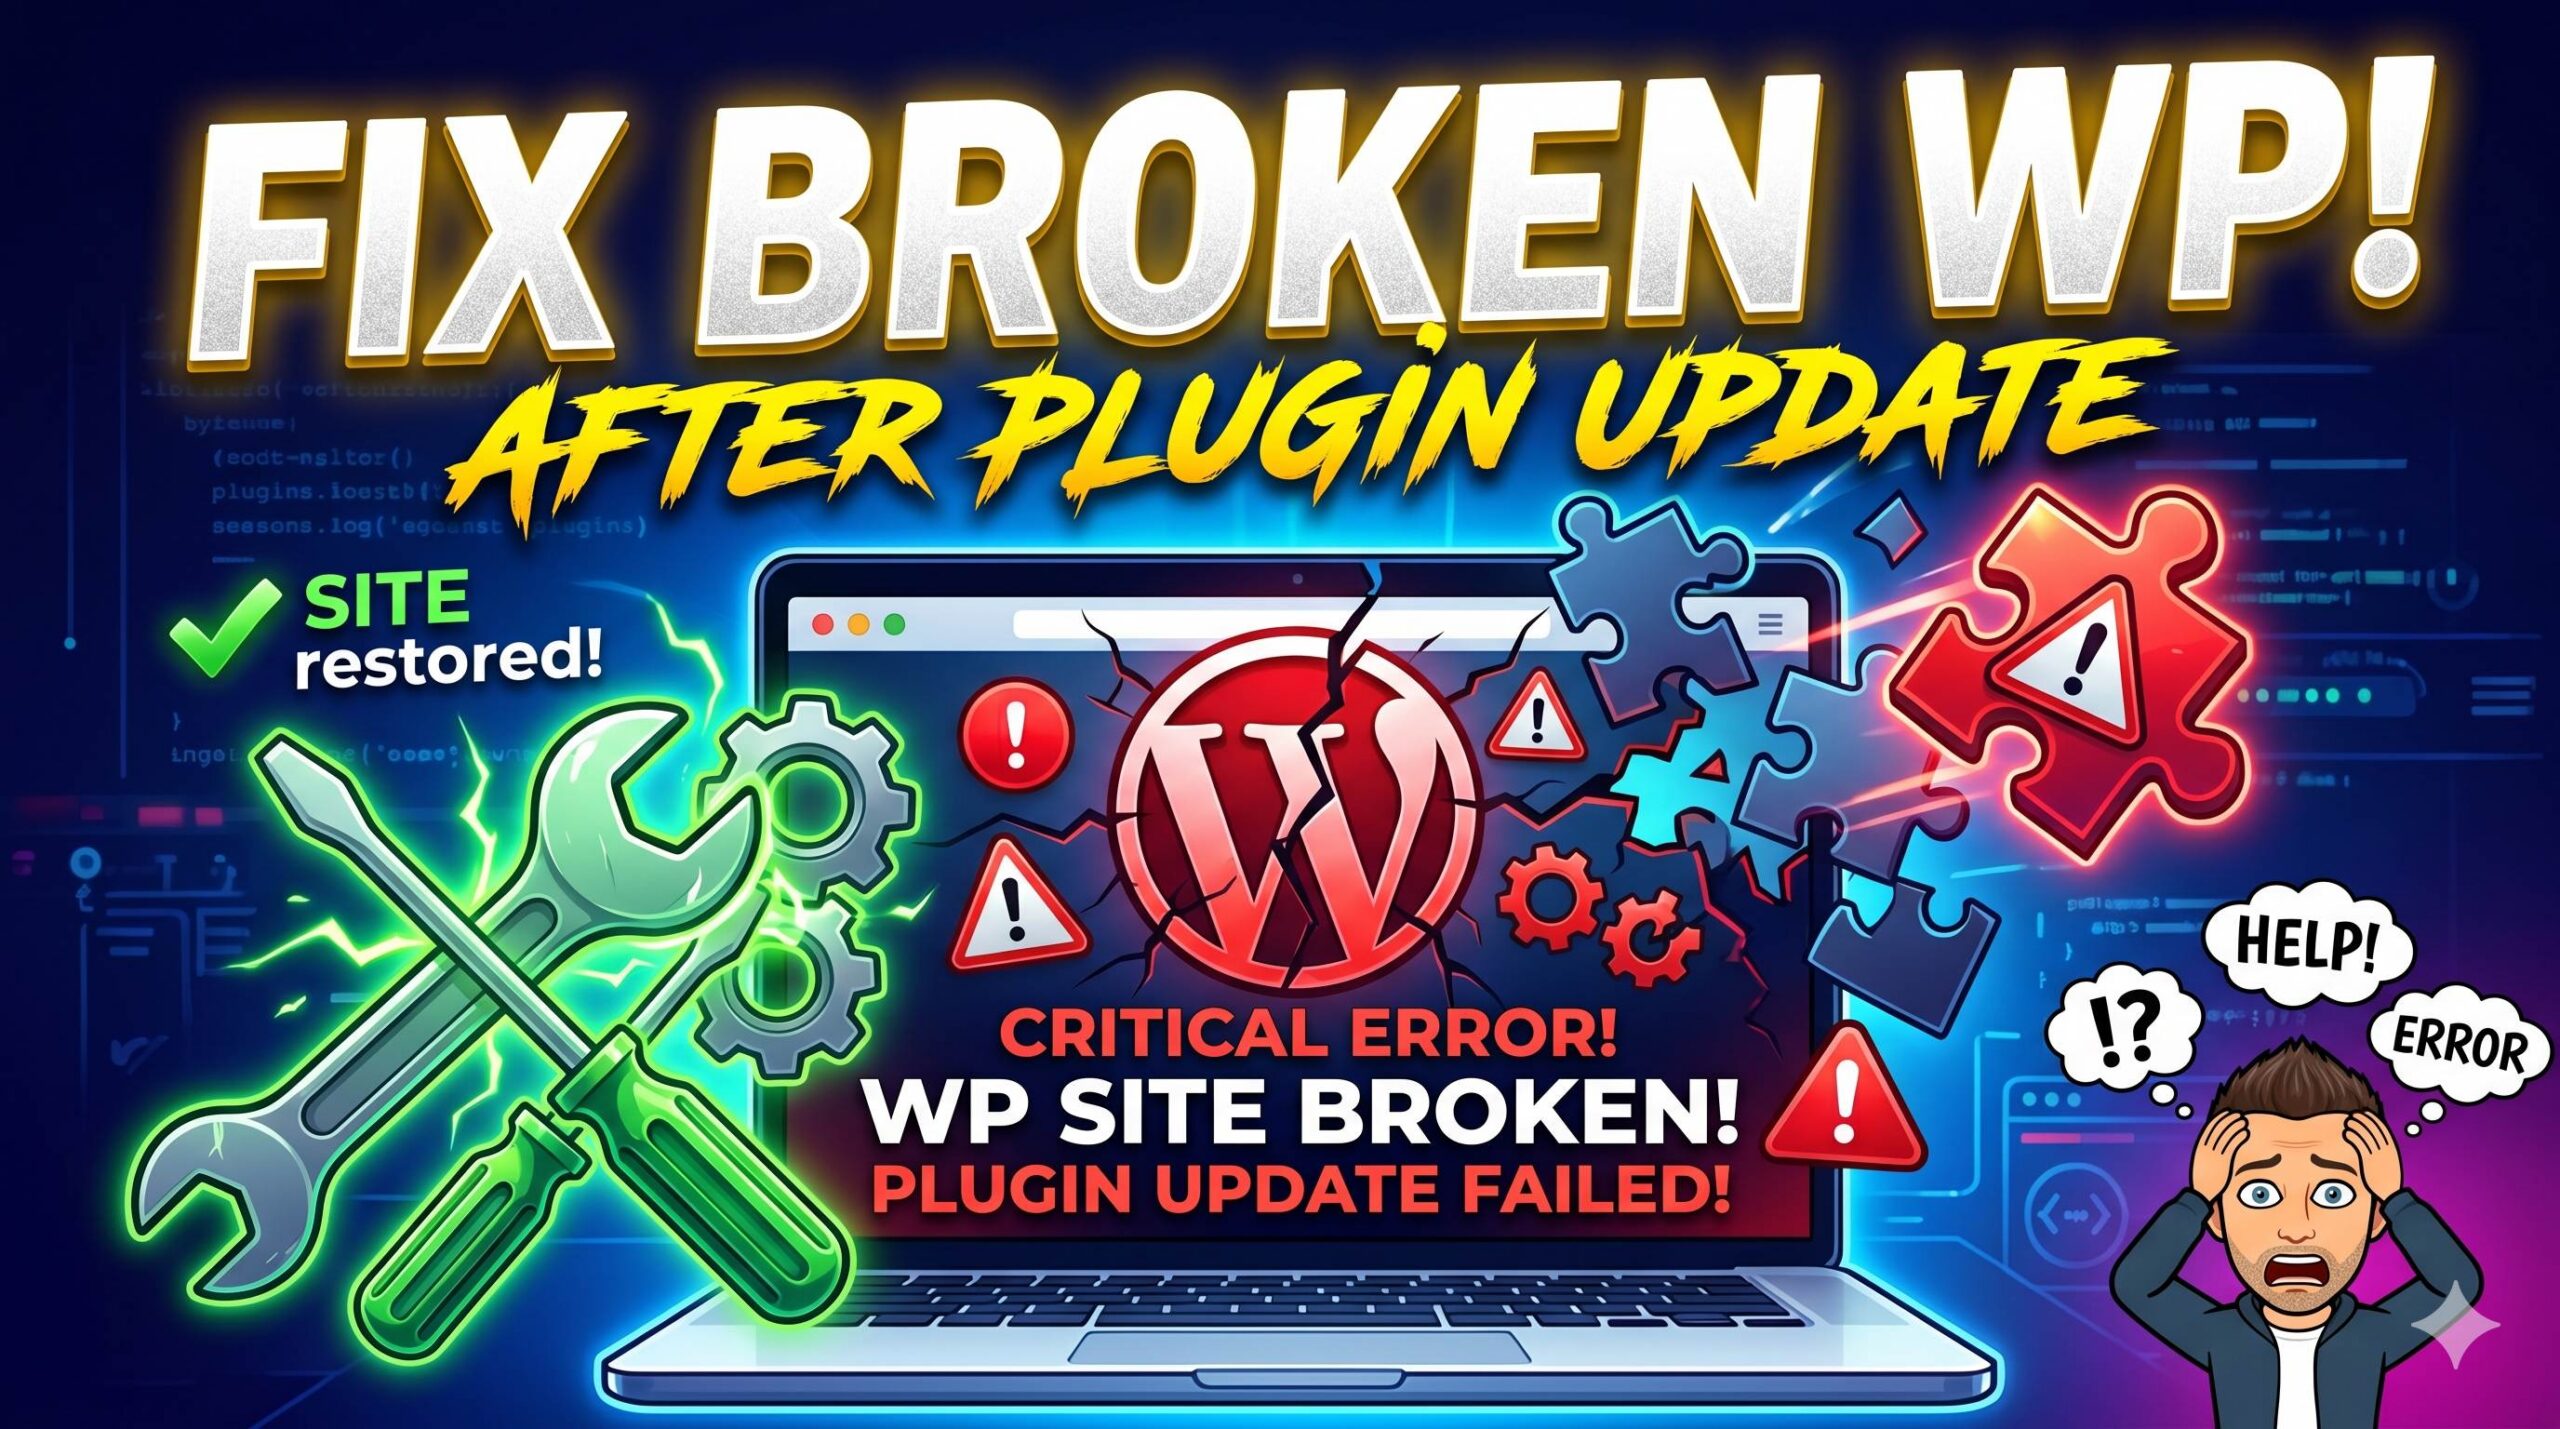
Step 4: Revert to a Default Theme (Safe Mode)

If your site is completely inaccessible (White Screen of Death) and you cannot access the WordPress dashboard to change the theme back, you must do it manually via your hosting account.
- Log into your hosting control panel and open the File Manager.
- Navigate to
wp-content/themes/. - Find the folder of the top WordPress theme you just installed and rename it (for example, change
avadatoavada-deactivated). - WordPress will now be unable to find the active theme and will automatically fall back to a default theme (like Twenty Twenty-Four).
- Your dashboard should now be accessible again, allowing you to investigate the problem further safely.
Preventive Guidance: How to Switch Themes Safely
To prevent these stressful errors in the future, never activate top WordPress themes directly on your live, public-facing website. Instead, follow these best practices:
- Always Create a Backup: Use a reliable backup plugin (like UpdraftPlus) to save a complete copy of your database and files before making any design changes. If something goes wrong, you can restore your site in one click.
- Use a Staging Site: Most good hosting providers offer a “Staging” feature. This creates a private clone of your website. You can install your new theme, fix any layout issues, and test plugins on the staging site without your visitors ever seeing the mess. Once everything looks perfect, you can “push” the staging site to live.
- Check Server Requirements: Before purchasing or downloading any of the top WordPress themes, read the developer’s documentation. Ensure your web host meets the minimum requirements for PHP version, MySQL version, and server memory.
By understanding how these complex themes interact with your server and plugins, you can safely upgrade your website’s design without the fear of permanent technical errors.
Claim Your Exclusive Welcome Bonus at OneWin Today
Frequently Asked Questions (FAQs)
Will I lose my blog posts or pages if my new theme crashes? No. Your website content—such as your written blog posts, pages, and media library images—is stored safely in your WordPress database, not inside the theme’s files. Even if a complex theme breaks your live layout or causes a server error, your content remains perfectly intact. It will immediately reappear once the error is troubleshooted or the theme is reverted to a default state.
Why is my website incredibly slow after installing one of the top WordPress themes? Premium, highly-rated themes often come bundled with heavy page builders, dynamic sliders, and complex background scripts. If your current web hosting plan does not provide enough RAM or processing power, these heavy elements will bottleneck your server and drastically slow down your loading speeds. To fix this, you may need to optimize your images, install a caching plugin, or upgrade your hosting resources.
Do I need to keep all the plugins that come bundled with my new theme? No. Many top WordPress themes recommend or require a large suite of companion plugins (like specific form builders or portfolio managers) to function exactly like their online demo versions. However, every active plugin consumes server memory. If you are not using a specific feature on your site, it is safer and better for your site’s performance to keep that plugin deactivated to avoid potential code conflicts.
What should I do if the theme developer’s support is taking too long to reply? If your site is currently broken (displaying a critical error or white screen) and you cannot wait for the developer’s technical support, use your hosting account’s File Manager or an FTP client to manually rename the broken theme’s folder. As explained in our troubleshooting steps above, this will immediately force WordPress to deactivate the problematic theme, restore your access to the admin dashboard, and bring your site back online safely while you wait for a technical response.
How to Fix the “Divi Market” Sync and Connection Error in WordPress
Conclusion: Mastering Your WordPress Design Transitions
Upgrading your website’s design shouldn’t be a nightmare. While activating top WordPress themes can occasionally trigger intimidating errors like the White Screen of Death or broken CSS layouts, these issues are almost always temporary and fixable.
By systematically increasing your server’s PHP memory limit, clearing out old cached data, isolating plugin conflicts, and knowing how to safely revert to a default WordPress theme via your hosting panel, you can regain control of your site in minutes. Remember, the golden rule of stress-free WordPress troubleshooting is preparation. Always back up your database and utilize a staging environment before making major design changes. With these educational steps in your toolkit, you can confidently build the professional, high-traffic website you originally envisioned without the fear of permanent technical failure.